
This article focuses on pcb soldering for beginners and explains how to solder various components using several different techniques. Although pcb soldering may seem daunting at first, once you give it a try, you will find that it is easy to do in most applications.
How to solder circuit boards
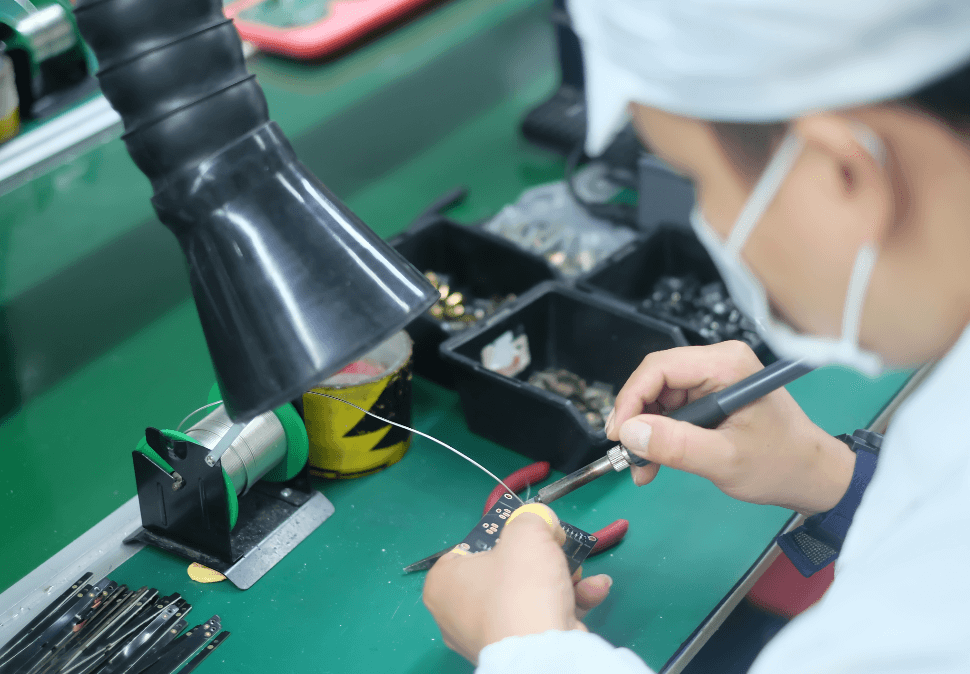
Manual solderingtools
Electric iron, ferrochrome frame
A soldering iron is a handheld tool plugs into a standard 120V AC outlet and heats up with melted solder around an electrical connection. For beginners, it is recommended that you use a pen soldering iron in the 15W to 30W range. Most soldering irons have interchangeable tips that can use for different soldering applications. Be very careful when using any soldering iron, as it can heat up to 896′ F, which is very hot.
A soldering iron holder is very practical and convenient. The holder helps prevent the hot soldering iron tip from coming in contact with flammable materials or causing accidental injury to your hands.
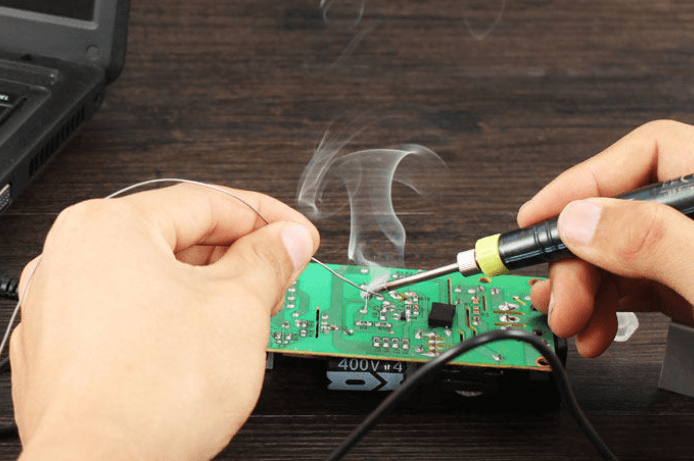
Conditions of soldering
Components must be weldable
The soldering pads of the component shall be kept clean
Appropriate using the flux
Appropriate soldering temperature
Suitable soldering time
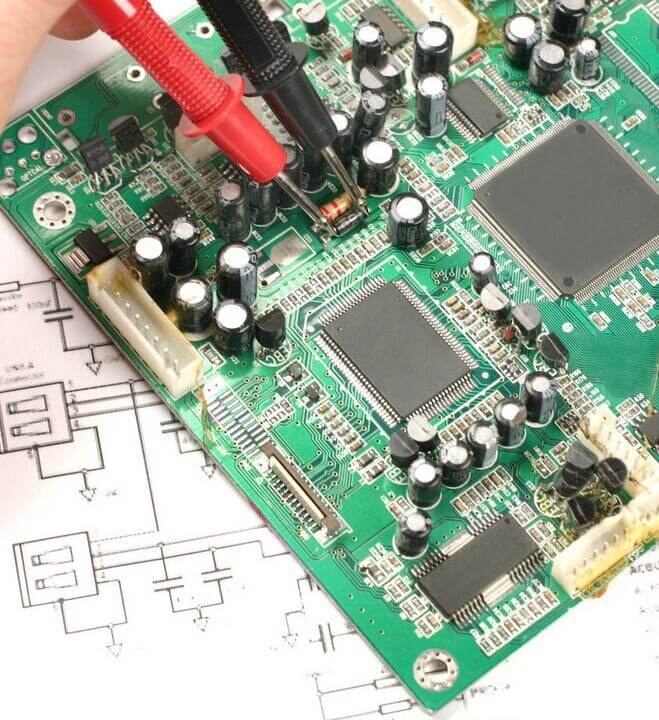
The solder
Tubular solder wire
Antioxidant solder
Silver solder
Solder paste
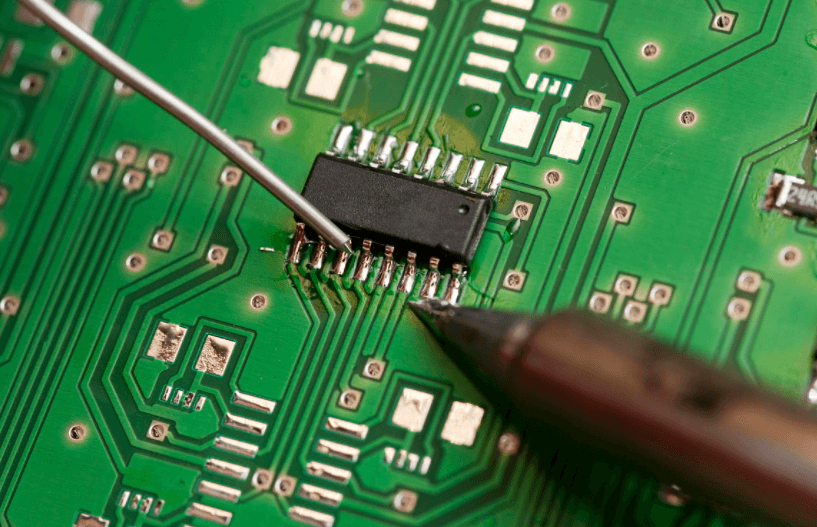
Selection of flux
Flux can improve the soldering performance, common fluxes are:
Solder paste/oil: Solder circuit boards is corrosive and can not be used to sold electronic components and printed circuit boards. After soldering, the residual solder paste/oil should be cleaned up.
Rosin:Rosin should be used as a flux when the pins of the components are tin-plated.
Rosin solution: If the printed circuit board has been coated with rosin solution already, then there is no need to use flux when soldering.
Soldering steps
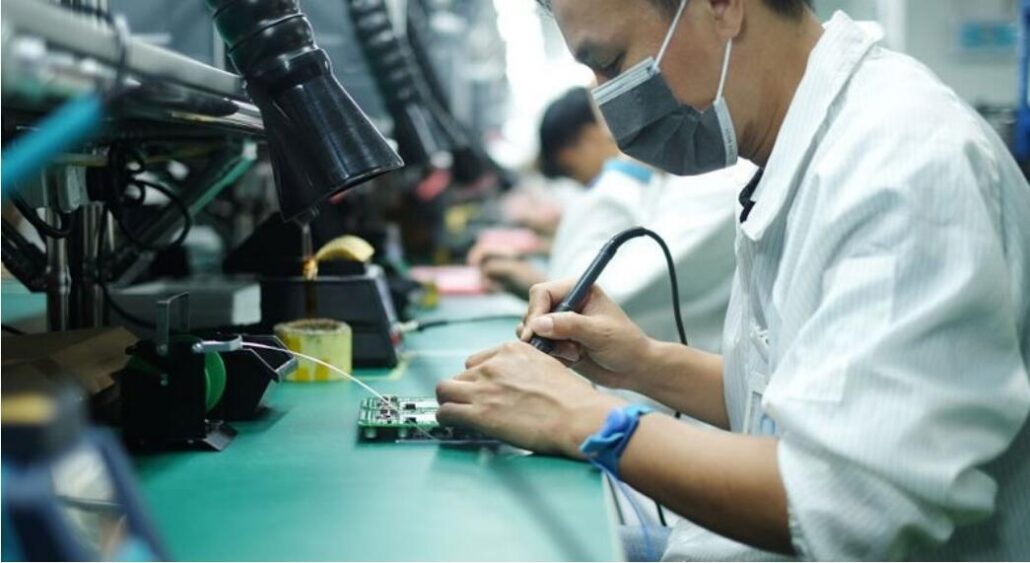
Prepare for soldering: In the process of solder circuit boards,the left hand holding the solder wire, the right hand holding the iron, the iron head is required to keep clean, and the surface coated with solder.
Heating: Heating the whole soldering part is heated, sustain about 1 ~ 2 seconds.
Feed the soldering wire: When solder circuit boards, the soldering points of the component are heated to a certain temperature, then can feed the solder wire to contact the solder pads.
Remove the soldering wire: When solder circuit boards, the wire is melted for a certain amount, immediately remove the wire in the direction of 45° to the left.
Remove the soldering iron: After the solder is melted in solder pads and the soldering parts, move the soldering iron to the upper right 45° to end the soldering.
Notes for circuit board soldering
- When solder circuit boards, the PCB shall first check its appearance to see whether there is any short circuit or open circuit, and then compare the schematic with the silkscreen layer of PCB to avoid any discrepancy between the schematic and PCB.
- The components are classified according to their size for the convenience of subsequent soldering.
- Before solder circuit boards, wear an anti-static ring and other anti-static measures to avoid electrostatic damage to components.
- The chips before solder circuit boards to ensure that the orientation of the chip is placed correctly.
- Distinguish positive and negative electrodes for LEDs, tantalum capacitors, and electrolytic capacitors.
- For crystal oscillator, passive crystal has no positive and negative requests, and generally only two leads, active crystal generally has four leads, should distinguish the positive and negative when solder circuit boards.
- For plug-in components, the pins of the components can be trimmed before soldering.
- If any component packaging error, installation problem, incorrect pad design, and other problems are found in the solder circuit boards process, record them in time for subsequent improvement.
- 之后 solder circuit boards 应使用放大镜检查焊点,查看是否有焊接不良或短路的情况。
- 电路板焊接完成后,应清洁电路板表面。
- 为了保持熨斗头清洁,当熨斗头处于高温状态较长时间时, solder circuit boards.
- 在……期间,元件的镀锡部分应受热均匀 solder circuit boards 以避免出现难以察觉的损坏或隐患。
- 在以下情况下请勿移动组件: solder circuit boards. 焊料凝固后必须取下镊子,否则容易导致焊接不良。
- 应及时清除铁屑,其清除角度和方向与焊点的形成有关。
-
适量的焊料。通常,焊丝的直径应略小于焊盘的直径。
-
应使用适量的助焊剂。如果松香助焊剂用量过多,那么 solder circuit boards, 势必需要清除多余的磁通量,并延长加热时间,减少 solder circuit boards 效率。
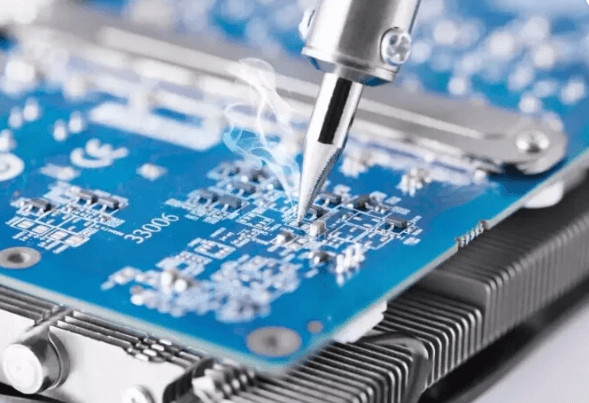
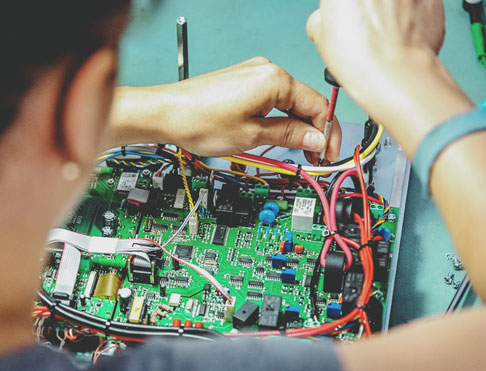
电路板焊接技能
首先,电烙铁的正确使用方法
其次,正确的焊接顺序
接下来,是手工焊接的方法
电路板焊接有哪些不同的技术?
电路板的焊接方法多种多样。这些方法主要分为两种不同的技术:硬焊和软焊。
1. 印刷电路板焊接——软焊
软焊用于将小型元件连接到较大的印刷电路板上。当然,焊接印刷电路板并非仅仅是熔化元件,还必须通过一个额外步骤将元件连接到电路板上。在这种情况下,这个额外步骤就是使用填充金属,通常是锡铅合金。
在焊接过程中,这种合金的使用至关重要,因为它充当了元器件与电路板之间的“粘合剂”,将两者牢固地连接在一起。
2. 印刷电路板焊接——硬焊
硬焊是一种利用固体焊料将两种不同的金属部件连接在一起的工艺。作为一种PCB板焊接工艺,硬焊包含两个较小的子工艺,即银焊和钎焊。